How to optimize WordPress database
The Optimize Database after Deleting Revisions Plugin is a utility that will assist you in keeping your WordPress database clean and optimized.This plugin allows you to exclude specific posts or pages from having revisions deleted, as well as select which database tables will be optimized. This article will show you how to install and configure WordPress databases using The Optimize Database after Deleting Revisions Plugin.
Table of Contents
Optimizing WordPress Database
To install Optimize Database after Deleting Revisions Plugin in WordPress website, follow these steps:
- Log in to WordPress as the administrator.
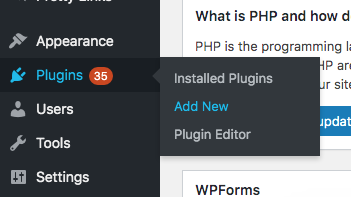
- On the Dashboard in the left sidebar, click Plugins, and then click Add New:
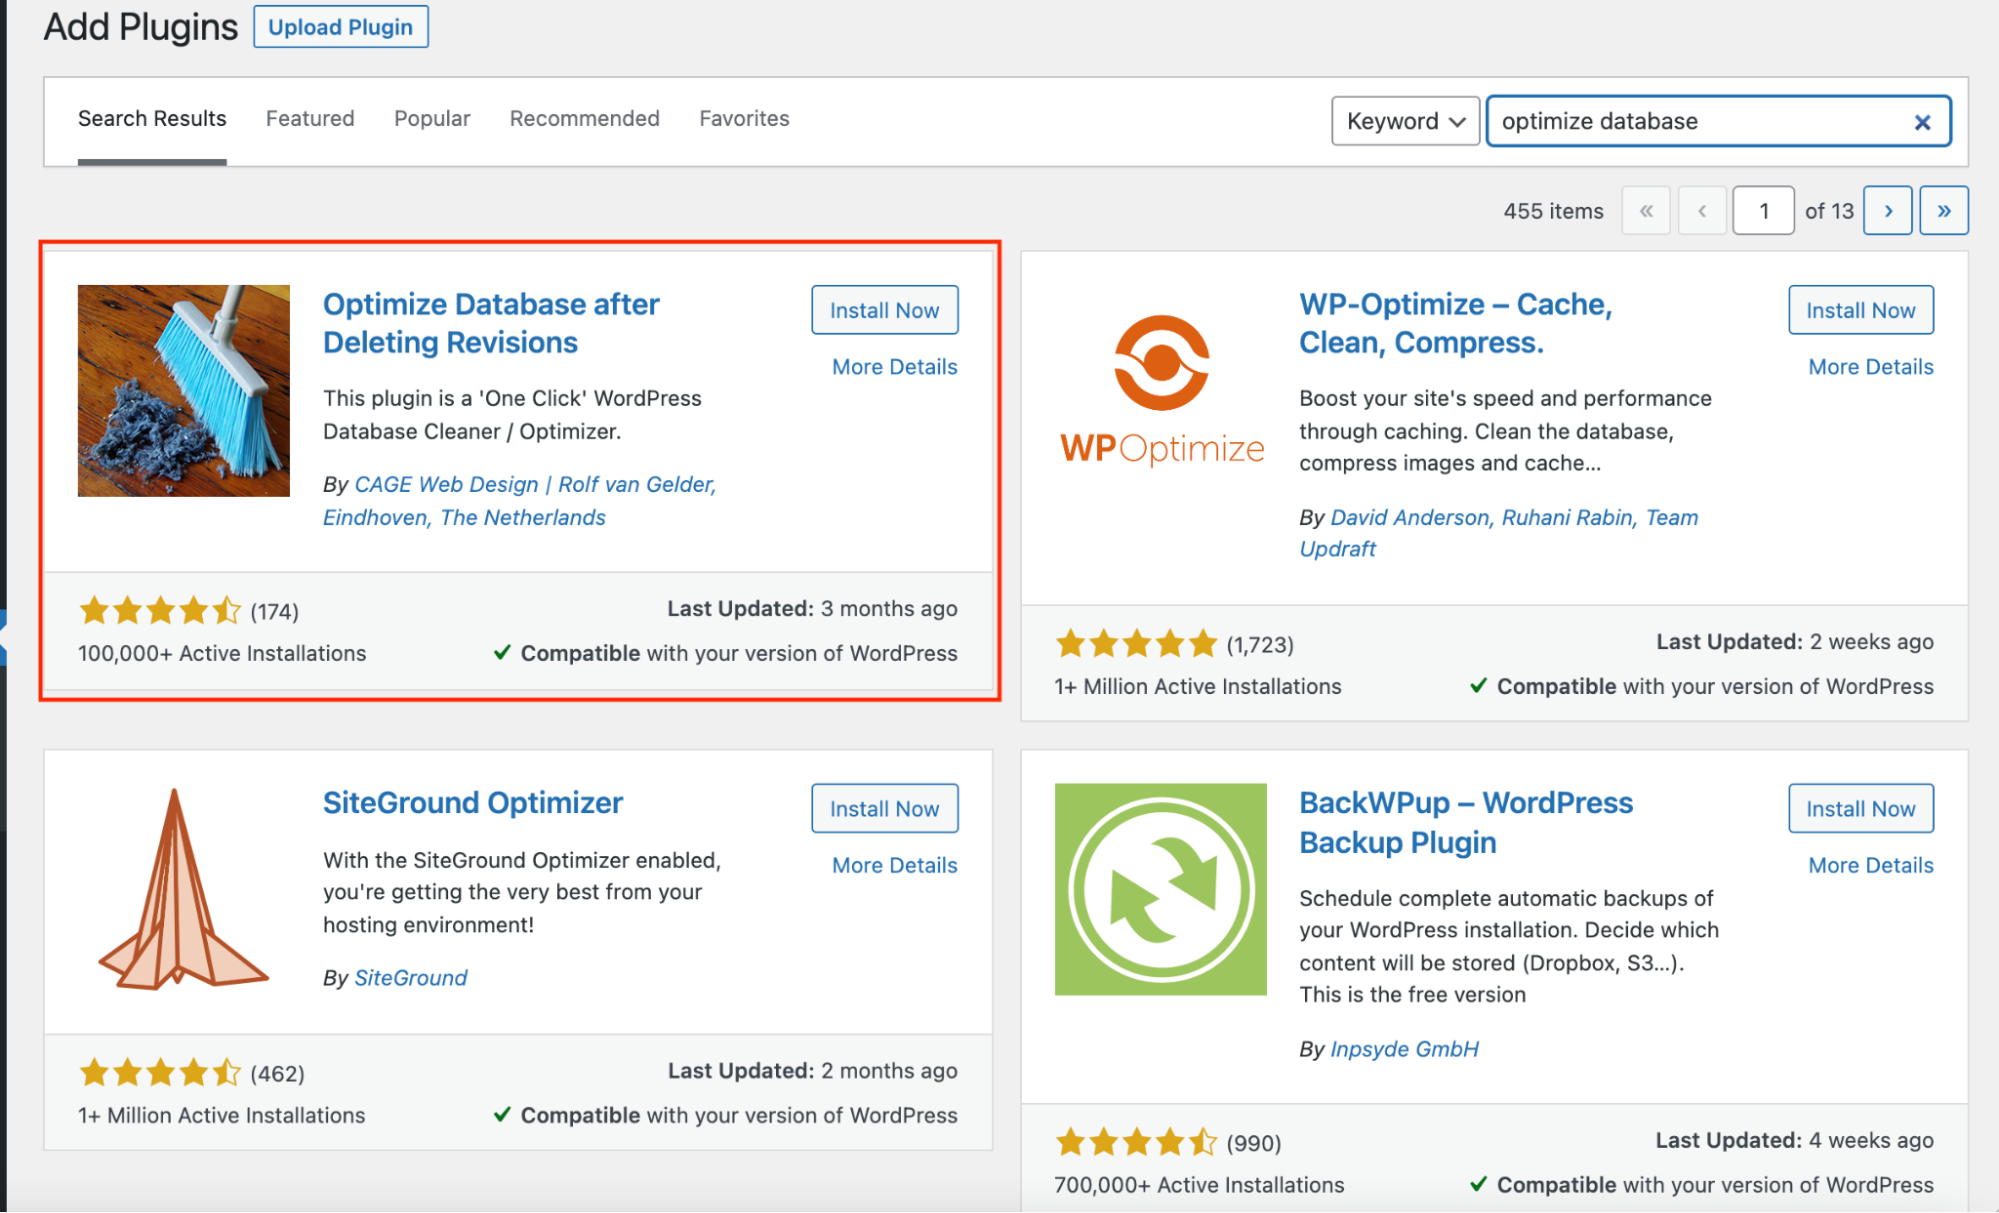
Search for “optimize database” click Install, and then click Activate the plugin:
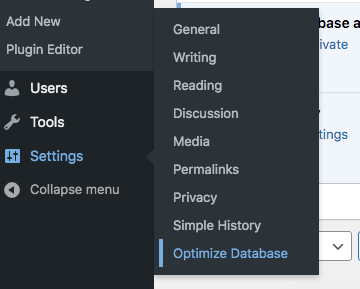
On the Dashboard in the left sidebar, click Settings, and then click Optimize Database:
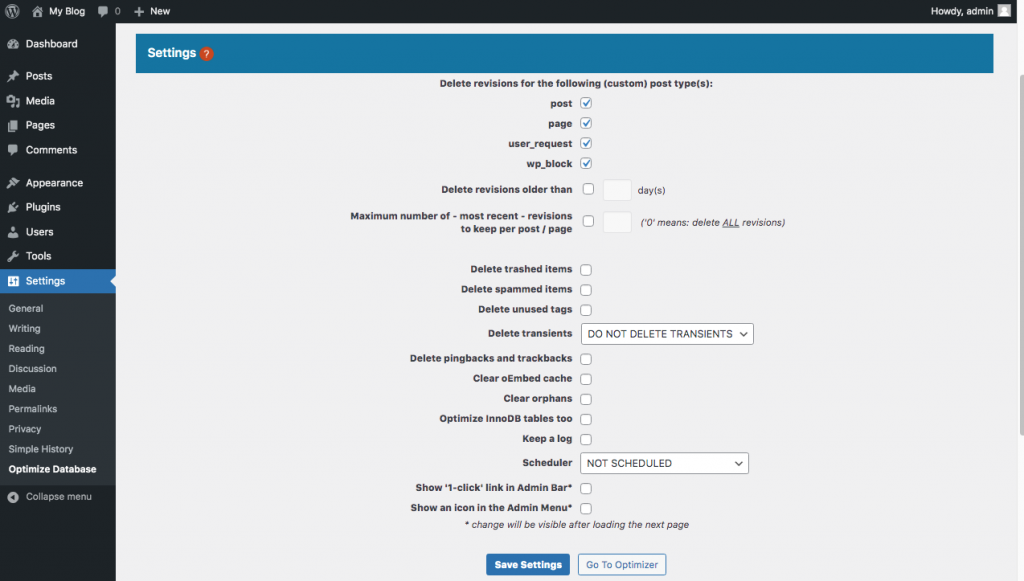
Configure the Delete Revisions for the post types or pages or custom post types, and then click Save Settings:
 Note: Please refer to this link to understand the definition for each field on the settings page.
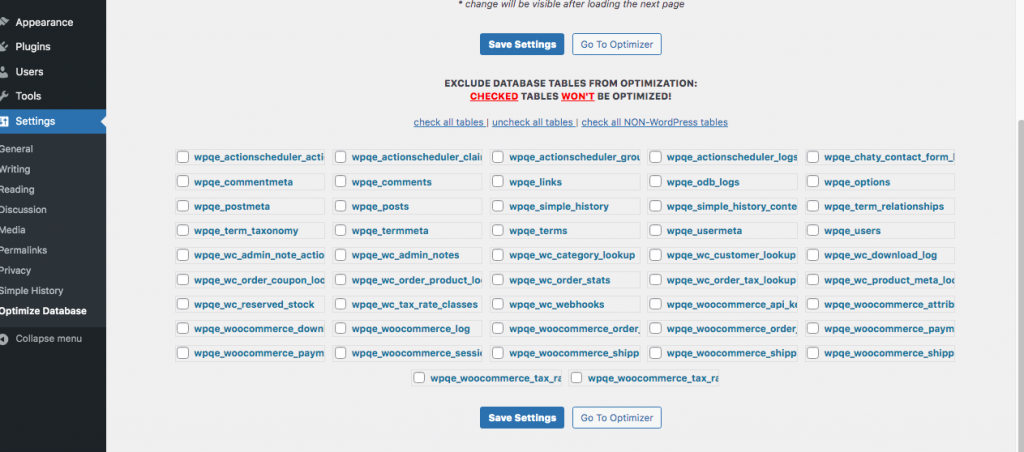
To exclude database tables from optimization, check the boxes next to the tables and then click Save Settings:
More Information
For more information about the Optimize Database after Deleting Revisions Plugin, please visit https://wordpress.org/plugins/rvg-optimize-database/
Article Details
- Product: All accounts
- Level: Beginner
Grow Your Web Business
Subscribe to receive weekly cutting edge tips, strategies, and news you need to grow your web business.
No charge. Unsubscribe anytime.
Did you find this article helpful? Then you'll love our support. Experience the A2 Hosting difference today and get a pre-secured, pre-optimized website. Check out our web hosting plans today.